As a guide for my states of matter experiments, I used Hope King's "As a Matter of Fact" pack! You can find it for yourself by clicking HERE
(It is really great for lower elementary and upper elementary! I did some tweaking to suit the needs of my students this year, but it is expected that you will tweak something you get from another teacher because every class is different!)
The first experiment we did this year was putting Pop Rocks in various sodas. It was actually crazy how many of my students had NEVER had Pop Rocks, so I first gave each of them some in their hand and we all ate them at the same time! I told them to keep their mouths open so we could all "listen" to them pop!
Their faces were priceless! You can definitely tell who had never had them before in this picture!

As you can see in the photo above, the students are writing in their science journals. I have them following the Scientific Process as we go through our experiment. There are also many great options of worksheets to use in the pack I posted above by Hope King.
Below are our results. I had teeny tiny balloons, which messed us up a little bit (I blame Publix) but it still got through the concept to the students: The Pop Rocks emit gas and the gas rises to escape the bottle into any free space...hence, filling up the balloon!

After our experiment, we wanted to have some fun with solids, liquids, and gases so we made root beer floats! This was super fun because this is one of the few ways you can actually EAT solids, liquids, and gasses at one time! The kids had a blast!


Yum!
_______________________________________________________
The second set of experiments came when we talked about the properties of the different states of matter.
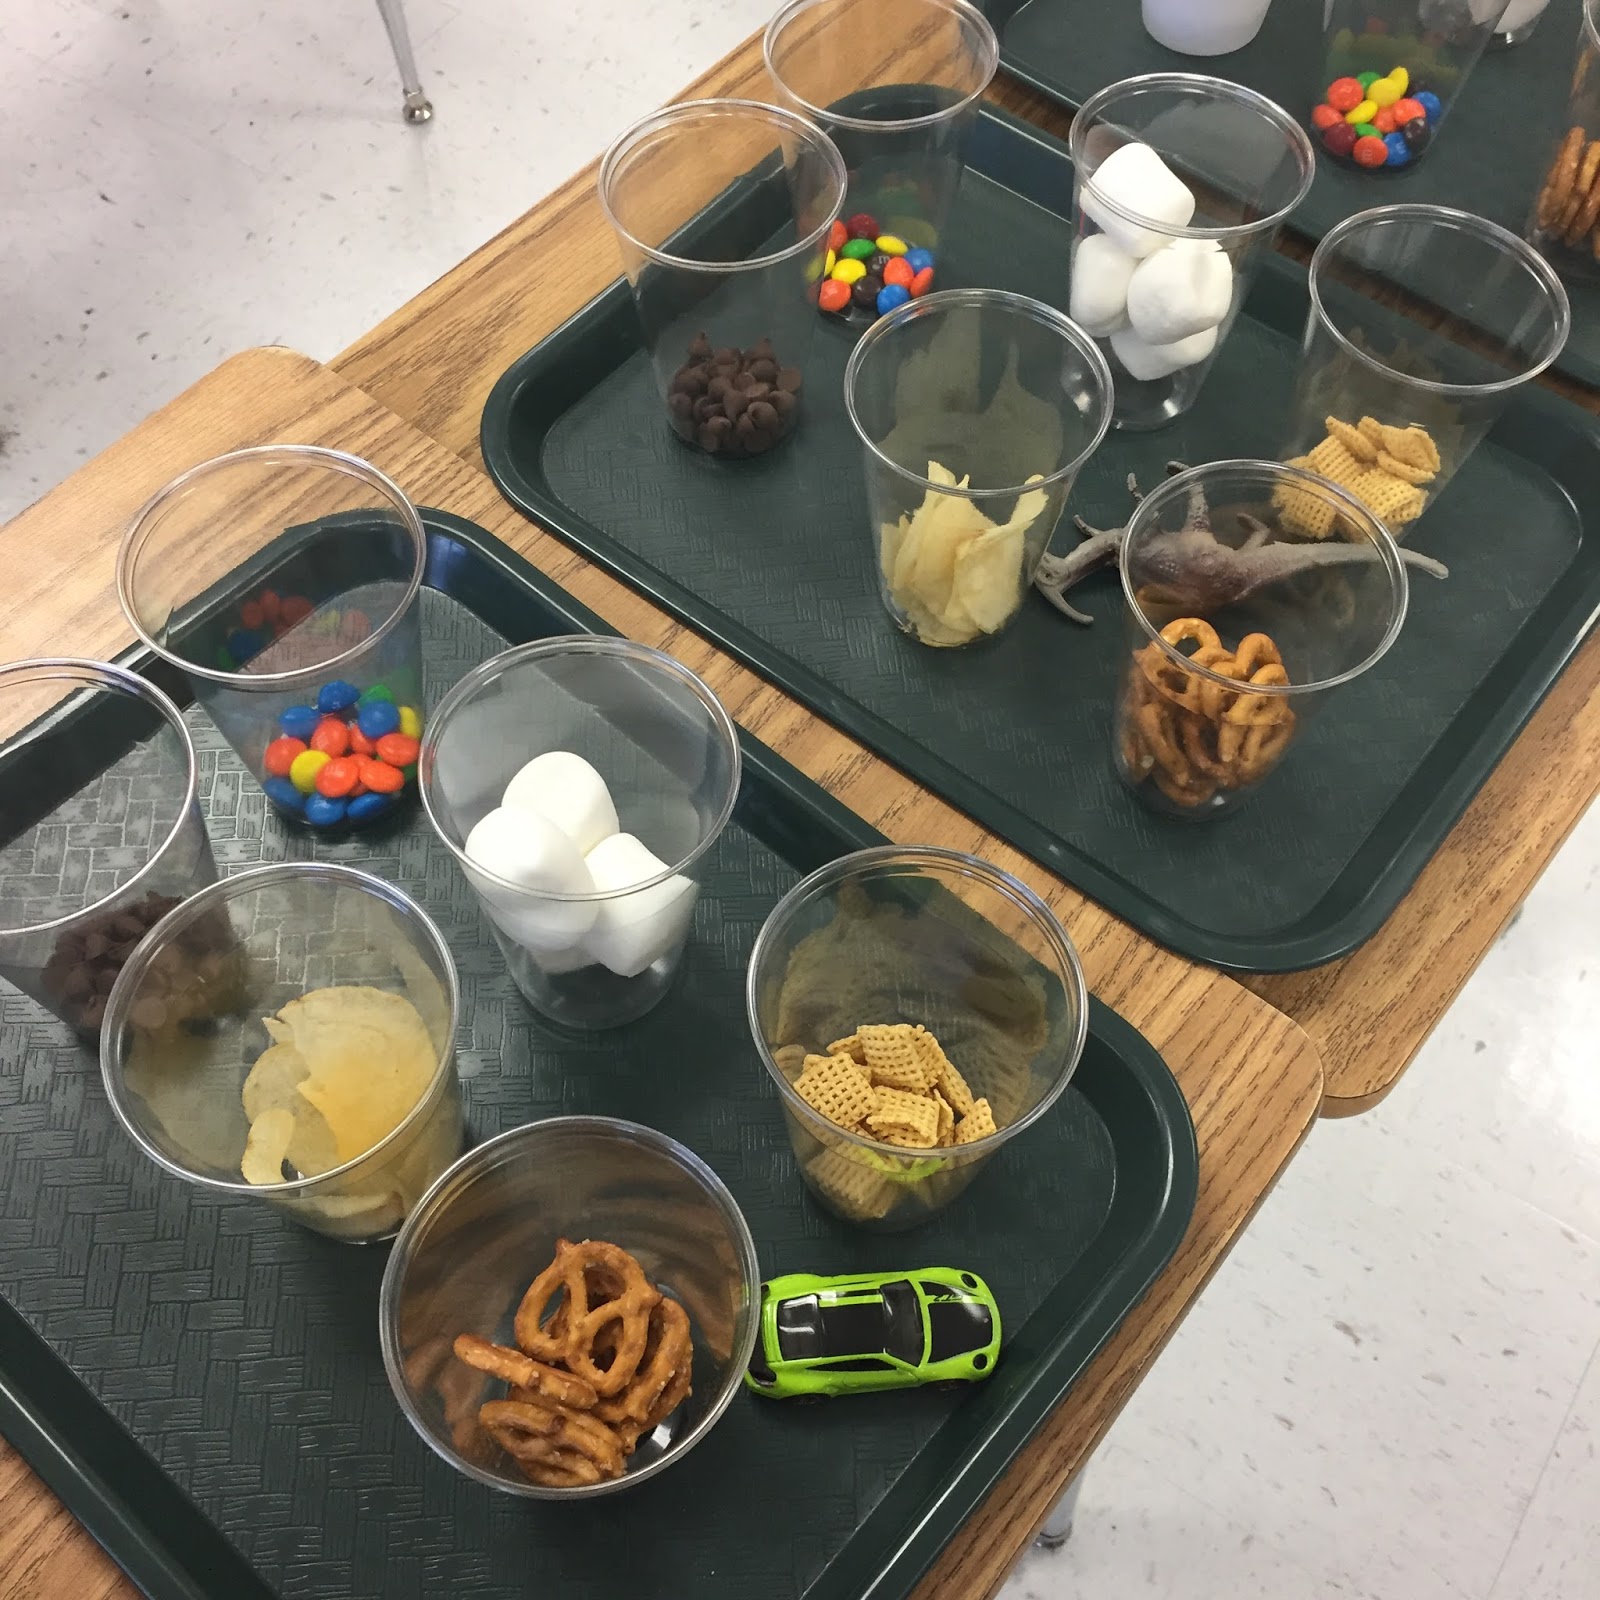
The students received a recording sheet for the different properties we were testing: odor, density, mass, volume, color, etc. The students received these random items in cups on their trays for their group. They then had to test each item in order to record information about all of their different properties.
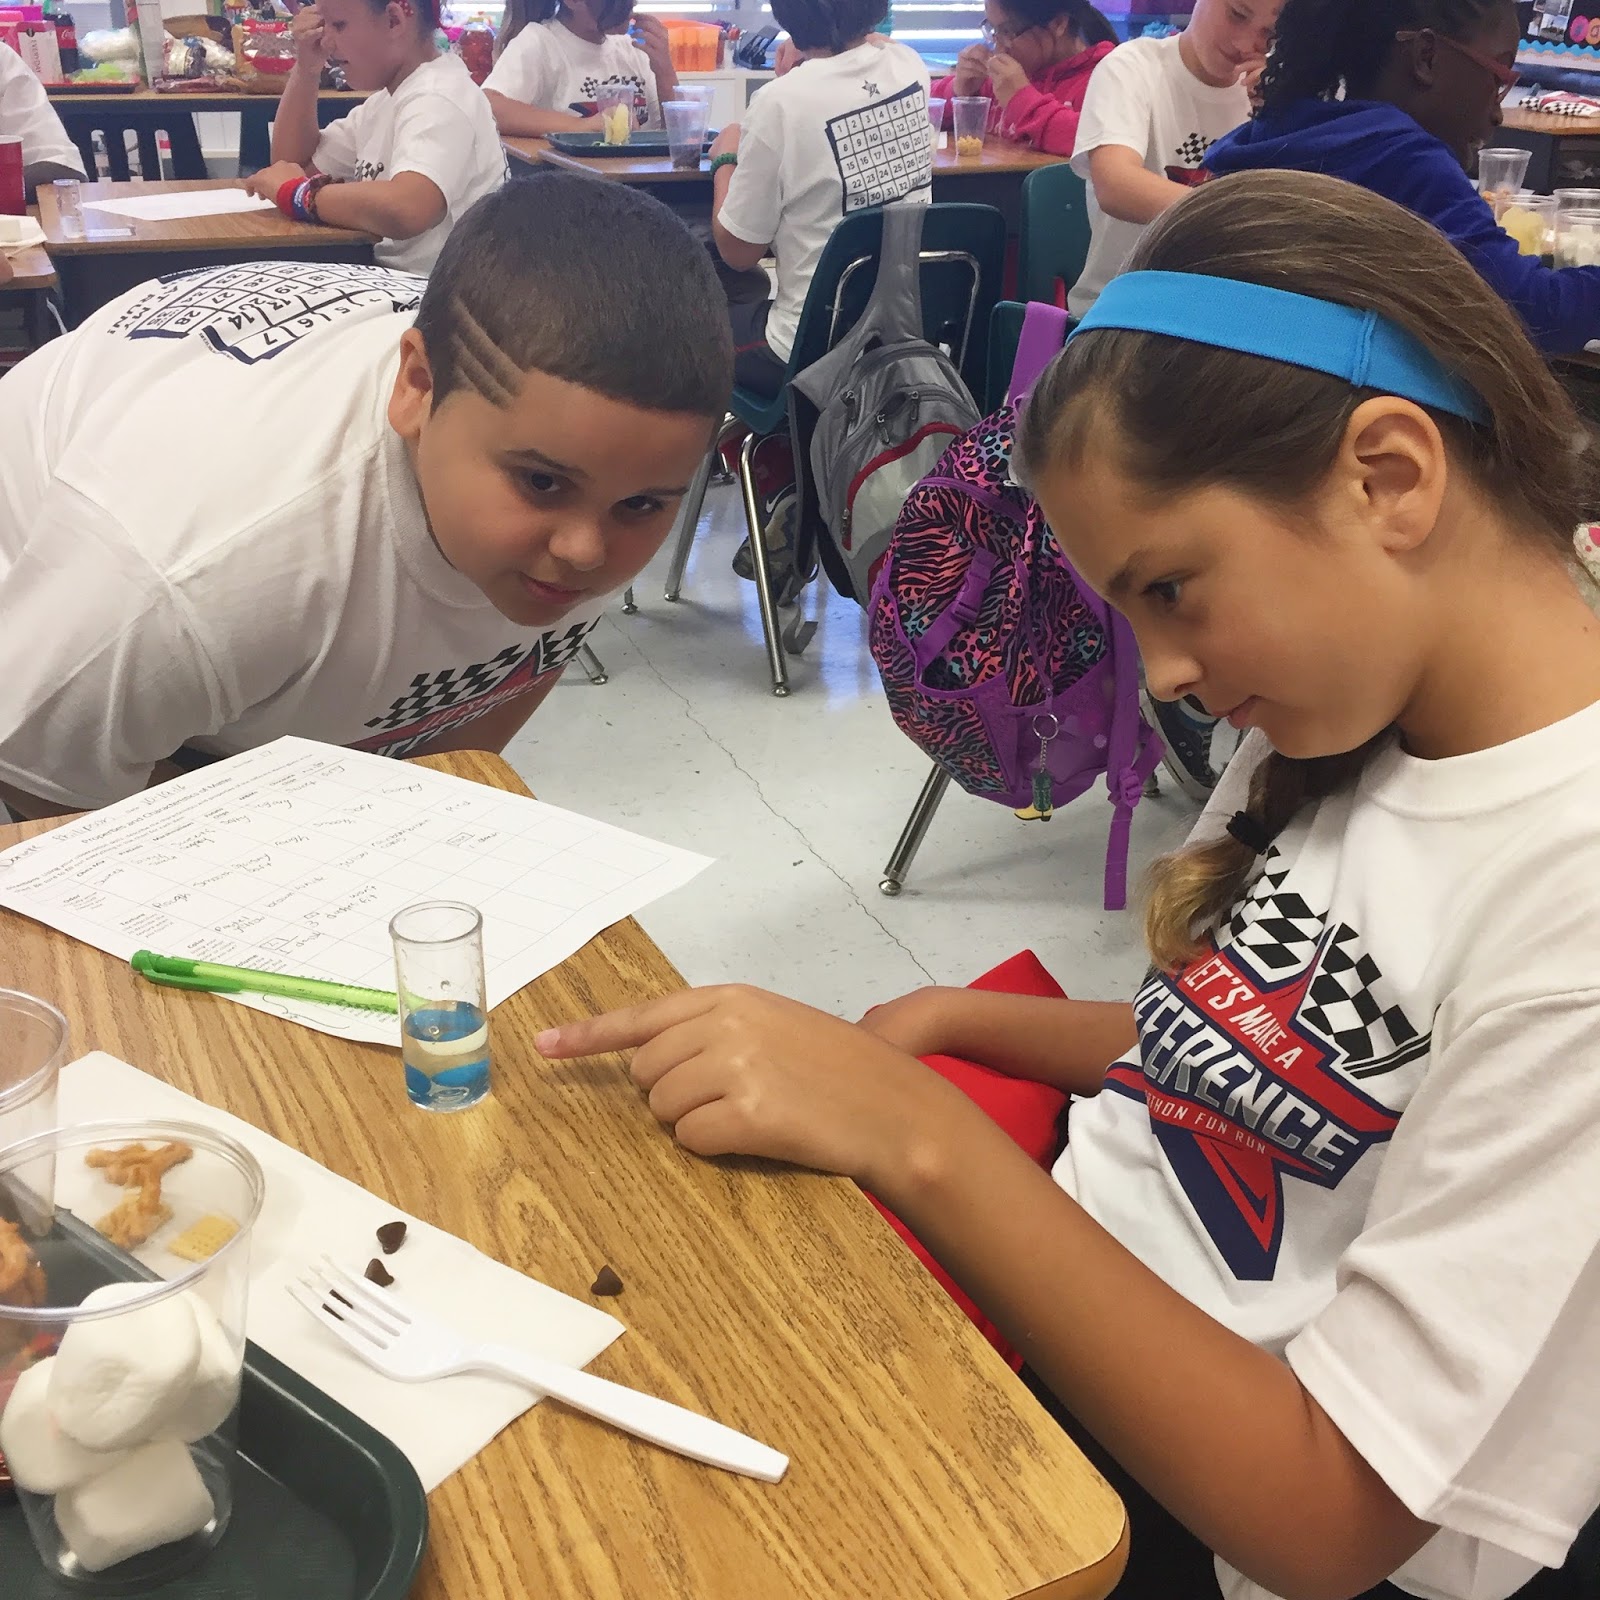
The students below are checking for odor by wafting!

These students are measuring volume using water and a graduated cylinder.
_______________________________________________________
Lastly, we talked about separating mixtures. I gave them a bunch of various materials in cups (similar to the experiment above) and they had to use their recording sheet to record how the mixtures were separated. I gave them tools for separating, too; however, they didn't know which tools would work for which mixtures. I also gave them a few random things that looked useful, but were not, to test them!
Remember, the key for separating mixtures is that there may be more than one way to do it, but you need to know which way is the best and most efficient for separating!
Below you see students using a magnet to quickly separate paperclips and M&Ms!

The students below are using a screen (sieve) to separate sand and pebbles.

Here is a group that tried to prove to me that the easiest way to separate sand and pebbles would be using their hands.... What do you think happened?

We then discussed ALL of the different ways that we found useful for separating mixtures and posted them to our discussion board you see below. This stayed up for a while and we were even able to add a little bit to it when we talked about other mixtures in science as the days passed.

_______________________________________________________
Let me know if you have any questions!
No comments:
Post a Comment